Added in version 0.5.0
Dub Packs
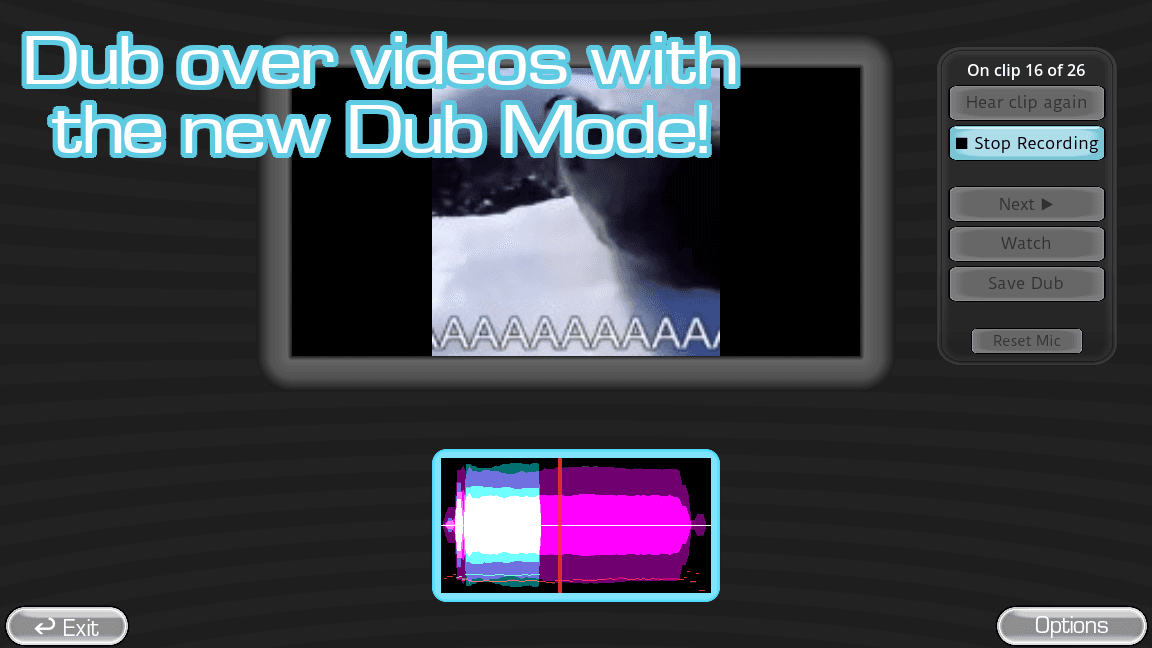
Dub Packs are an advanced version of standard Voice Packs. They work like any other pack in normal gameplay — but they also unlock Dub Mode, where your performances get stitched together and played back dubbed right over the source video.
How Dub Mode works
In Dub Mode, you get as many retakes of each performance as you want — but you won’t hear any of your recordings back until the whole game ends. Once every sample in the pack has been performed, they all play back dubbed over the pack’s included video, start to finish.
To make a functional Dub Pack you need two things at minimum: timestamp metadata for every audio sample so the game knows where to sync your recordings against the video, and the source video itself, in OGV format.
🎞️ Why OGV? Where’s MP4, AVI, etc?
The Choicer Voicer is built in the Godot Engine, which only supports OGV — an open-source video format — out of the box at this time. Since the game inherits that limitation, every Dub Pack’s video needs to be converted to OGV before it’ll load.
📁 Where Dub Packs live
Dub Packs go in the packs_voice folder in your game files, right alongside regular Voice Packs. You can jump straight to this folder from the main menu.
Creating a Dub Pack
A step-by-step guide, from raw video to a ready-to-play pack.
Get your video
Procure the video you want to build a Dub Pack from.
Extract the audio
Pull the audio out separately from the video — you’ll need it on its own to create your audio samples.
Separate vocals from noise (optional)
If your audio has a lot of music or background noise, isolate the vocals — there are plenty of programs and websites that can help.
💡 If you do separate them, save the leftover noise into your Dub Pack as _backing_track. It will play alongside players’ recordings and make the performance feel a lot more authentic to the original video!
Open the audio in your editor of choice
Any audio editor works — this guide refers to Audacity as an example.
Export individual audio samples
- Make sure each sample is loud enough to hear.
- Keep samples under 6 seconds, and cut them at intuitive spots.
- Number the start of each file name to keep them in order.
✗ Bad
NiceOfThePrincess
LotsaSpaghetti
LuigiLook
✓ Good
01_NiceOfThePrincess
02_LotsaSpaghetti
03_LuigiLook
Note when each sample starts, too. In Audacity, set the “Audio Position” readout in the bottom-left corner to hh:mm:ss + milliseconds, then work that number into the file name — it makes adding timestamp metadata later much faster.
Example: an Audio Position of 44.048s becomes 07_MyClip_44-048
Add timestamp data to your samples
Launch The Choicer Voicer and go to Extras → Edit Voice Packs & Clip Metadata. For each sample, add a timestamp (in seconds) for when it plays.
- You can also add captions, assign images, and add tags here.
- If the dub has more than one voice in the scene, consider adding dub character tags. Players can filter which characters they want to dub; unselected characters keep their original audio during playback.
- You can toggle clips as dub only, which keeps them from showing up in modes outside of Dub Mode.
Convert and add the video
Convert your video to OGV if it isn’t already, and place it in your Dub Pack named exactly dub_video.
⚠️ The Dub Pack will fail to load if it can’t find an OGV file named dub_video.